
Scalextric Replacement Parts:
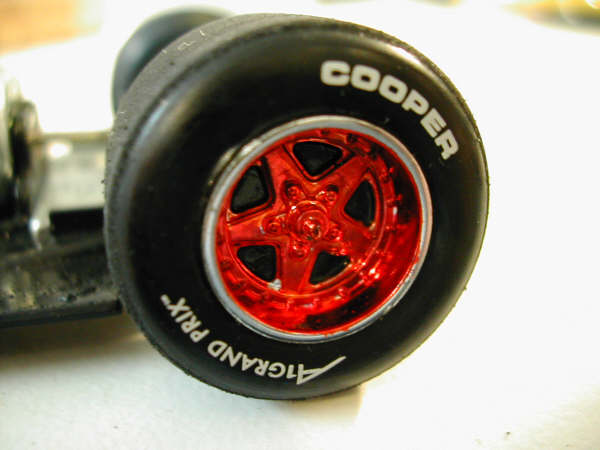
Scalextric Replacement Front Wheels, Axle, Suspension Assembly, part no. SSRW9330: http://www.fantasyworldhobbies.com/catalog/product_info.php?cPath=136_137_144&products_id=4044 Getting a straight/round pair of front wheels on one of the A1 GP cars is a "Crap Shoot" at best. Although the replacement wheel/tire assembly's parts package is labelled as "Scalextric Sport", it appears the actual front wheel/tire assembly's quality is similar to the packaged car's. The SSRW9330 parts are an identical replacement right down to the lettering on the tires. If you are replacing a broken assembly - perfect! If you are looking to replace the originals with some that are not out-of-round and crooked, well good luck - it's another "Crap Shoot"! ------Bill
Scalextric Service Sheet No.391 List of Spares for A1 Grand Prix Cars: http://static.scalextric.com/files/ss-391-a1grand-prix-165.pdf
Performance Parts:
Monte's recommendations: Slot.it Rear Wheels, Axle, Gear, Bushings, part no.SIKK06: http://www.fantasyworldhobbies.com/catalog/product_info.php?cPath=136_215_221&products_id=3144 This is a "drop in" set up, no modifications necessary.
Slot.it Rear Tires for the above assembly, package of 4, part no. SIPT16: http://www.fantasyworldhobbies.com/catalog/product_info.php?cPath=136_215_216&products_id=3062
Overall Impression/Review of the Scalextric A1 GP cars: http://www.homeracingworld.com/a1grandprix.htm
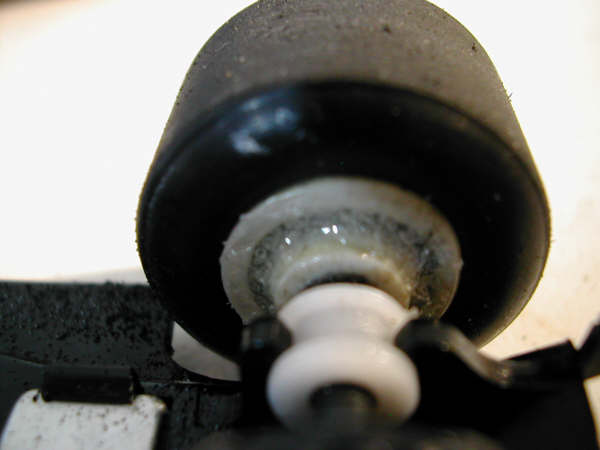
Art on bullet-proofing the rear axle assembly: When I first got my A1GP, I was sanding the rear wheels, and I noticed the axle bearings turning. they are very loose. I did not want the problem,you mentioned, about glueing them in and ruining the car. So I " Hot Glued" them in. Hot glue can be taken apart without ruining everything!
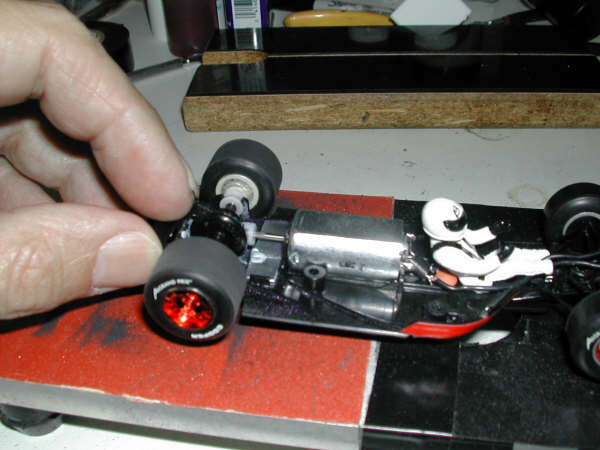
Rear Wheels: I had the misfortune of breaking a rear wheel during a practice session. The wheel hub split and broke at the backside of the wheel spokes. Thus the wheel let loose from the axle and flew through the air. Cool looking but a major bummer under race conditions! In searching my "spare parts bin" for a replacement rear assembly I found a rear wheel set that appears to be from a Ferrari of some sort. The wheels look much more "beefy" than the stock A1 GP wheels. The wheel spokes are not cut out, they're just molded into a solid wheel center. I reinforced the wheel hub by forcing Household "GOOP" brand glue (if you've never used this stuff, you're missing out! It's great!) into the cavity between the wheel hub and the wheel rim. I also applied the glue to the axle and wheel hub connection. One more thing about crooked and out of round wheels. Be sure the wheels are pressed fully onto the axle. One of these Ferrari style wheels was pretty bad, but I noticed the rear assembly width was wider than the A1 GP's. I pushed both wheels onto the axle just a tad further and what do you know, they both ended up a little straighter. --------------Bill
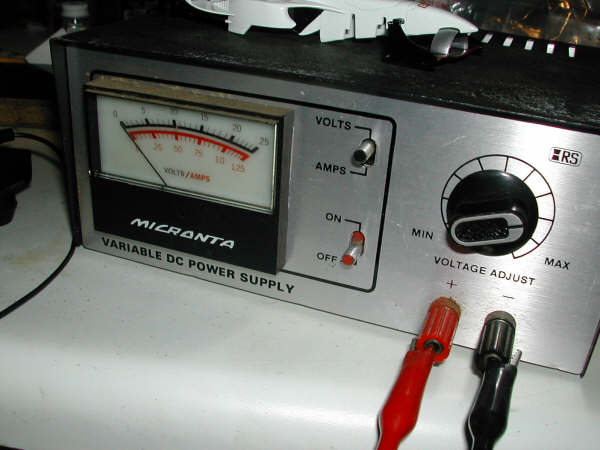
Rear Tires: On these A1 GP cars, at a minimum you MUST sand the tires for better traction! Here's how I like to do it. I use short leads with alligator clips (Crock Clips to "Aussies") to connect a small power supply to the car's guide flag electrical wipers/braid pickups.
I used contact cement to glue a piece of sandpaper to a test block. The other end of the test block I insulated with black electrician's tape to prevent electrical shorts of the guide flag wipers/braid.
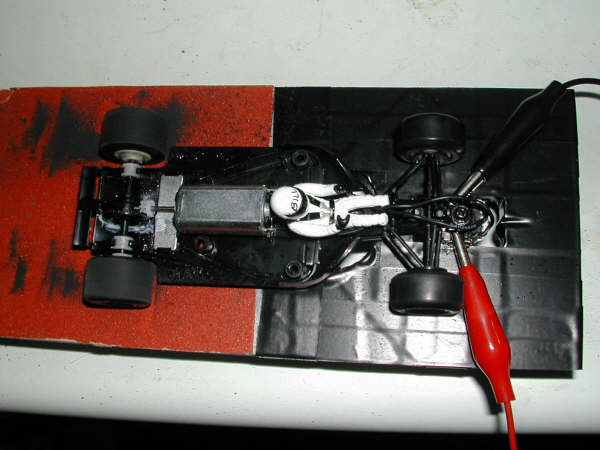
With the electrical leads from my power supply connected to the car's guide flag wipers/braid, with the power "on", while the motor is running I gently lower the rear of the chassis onto the test block sandpaper.
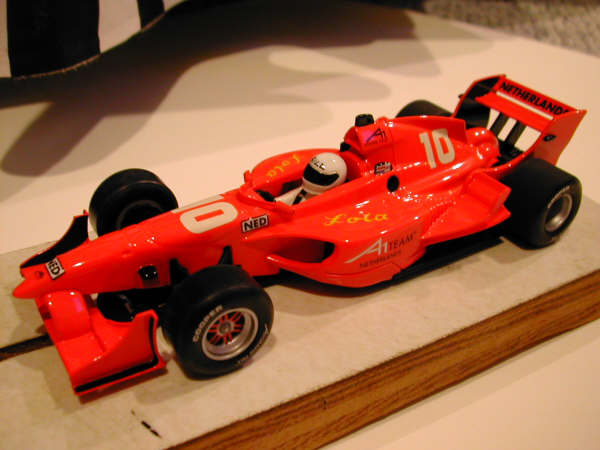
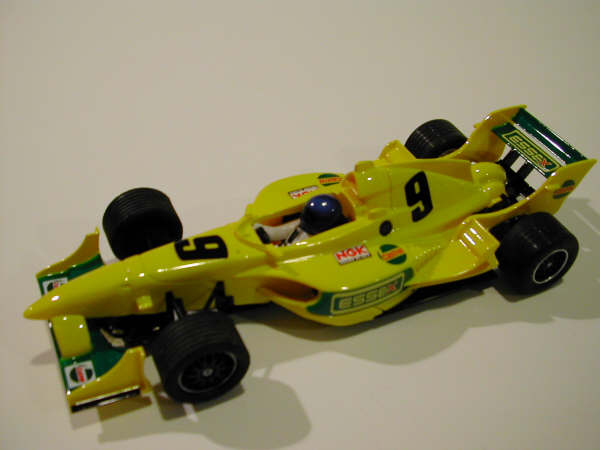
I've whitnessed some pretty aggressive tire sanding with motors suffering no ill effects. But my advise would be to take it easy. Do a little sanding, let the motor cool a bit, and then resume. Most of the rear tires I've seen require quite a bit of sanding to true them up! The performance gain from sanding and trueing the tires on these cars is well worth the time and effort! I scored a win with the car pictured here on it's first time out. I'm convinced the extra time I took sanding the rear tires well, to make sure they were round and had a good contact patch with the track surface, is what made the difference in this car's performance! -----------------Bill
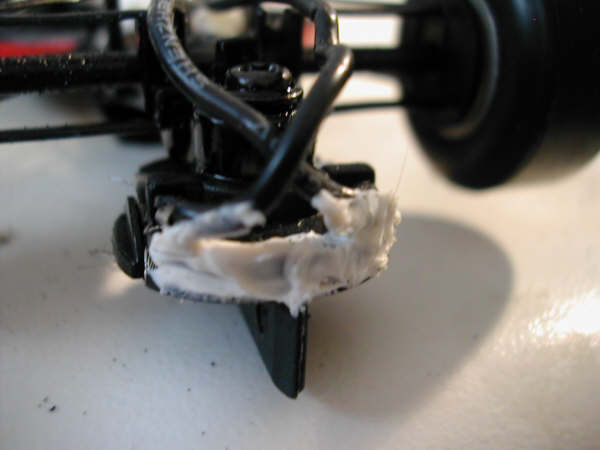
Guide Flags: I have seen more than one guide flag on the A1 GP cars come apart during a race. Even had it happen to me.........once. After that experience I put a small amount of silicone sealer on the leading edge of the guide flag. The A1 GP guide flags are a two piece assembly. There is a round top piece that slips on to hold the motor wire connectors in place against the wiper/braided pickups. In a crash where the guide flag impacts something the top piece can dislodge enough to cause the wires to lose contact with the wiper braid. I've also seen racers use different types of glue with great success. I use silicone sealer because I can remove it easily, change braid, and reapply the silicone sealer. I use white so I can be sure it's still in place throughout the race. Looks kinda ugly, but it works! -------------Bill
Rear Axle Uprights: The chassis rear axle uprights seem to be a weak point on the A1 GPs. I have 3 chassis that broke on the right side. I have also seen other racers have breakage problems in this area, so it's not just me (in fact the photos below were taken while repairing chassis for another racer)! The process I use to repair them uses brass round tubing and JB Weld epoxy. The repair is permanent, and much stronger than stock. I use two types of repairs. One repair allows the use of the stock rear axle assembly, the other requires the use of bronze oilites, a 3/32 steel axle, and a crown gear and wheels for the 3/32 axle (normally set-screw type wheels and gear). Pictured below are photos of the finished repairs. You can view the step-by-step photos in the pictures section. ---------------------Bill
This is what the rear axle upright should look like.

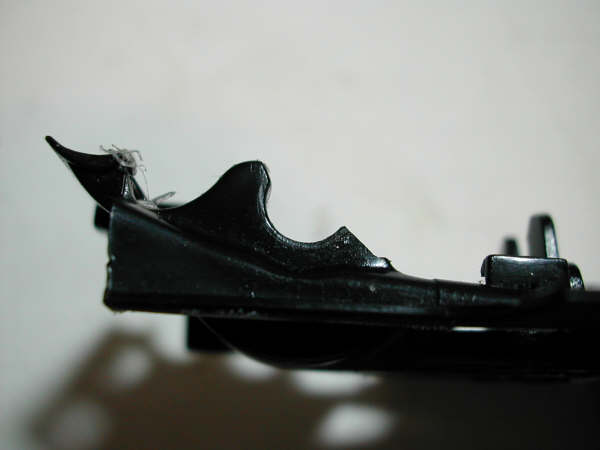
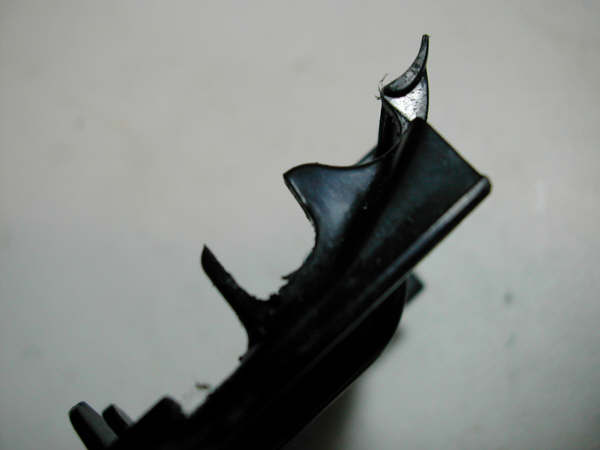
Here's the problem, a broken rear axle upright on the A1 GP chassis. I've seen this more than once!
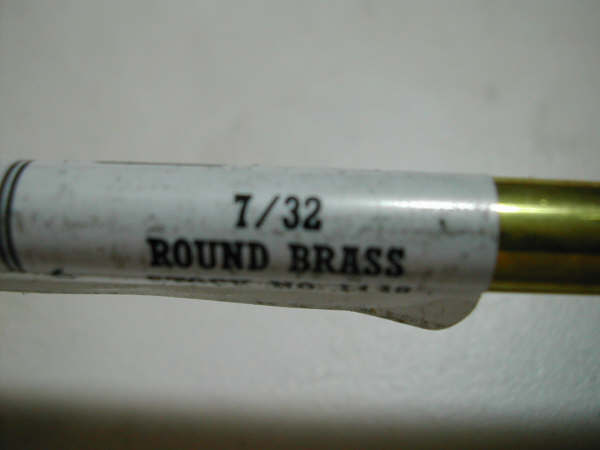
I use round brass tubing to make the rear axle upright repairs.
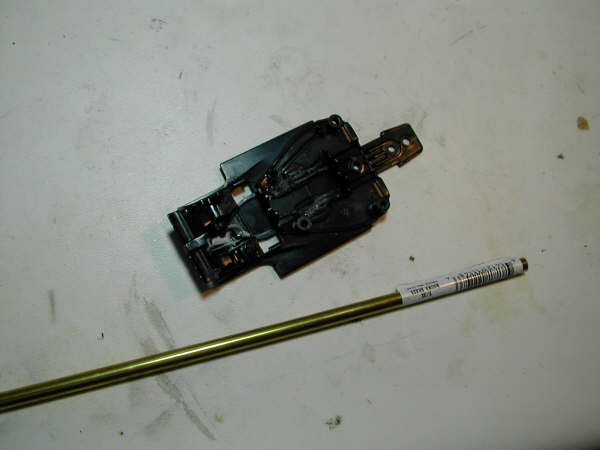
The tubing is K&S 7/32 round brass tubing.
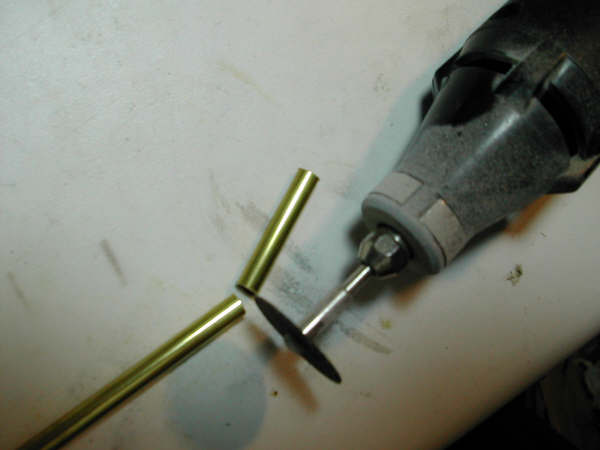
I use a Dremel & cut off wheel to cut the tubing to a length of 1 3/16 inch.
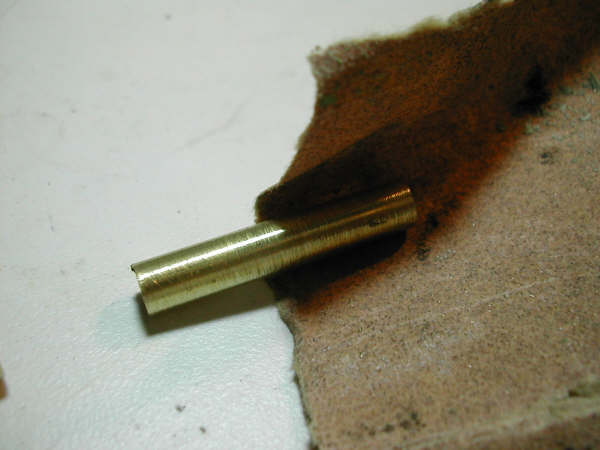
I use a coarse sand paper to rough up the tubing's surface to give the epoxy something to get ahold of.
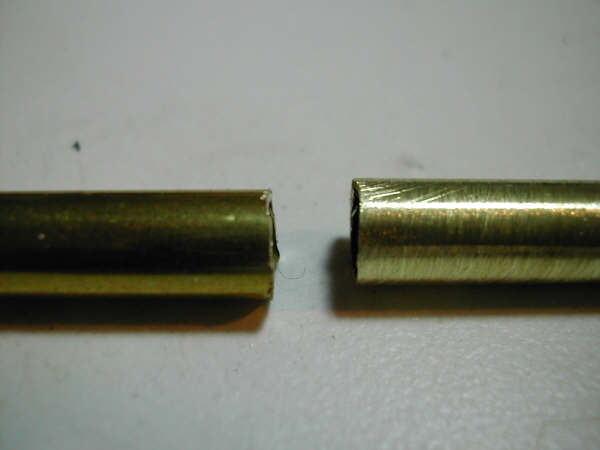
The tubing on the left is before sanding, tubing on the right has been rough sanded.
Because the tubing has a larger diameter than the original axle bushings, I use my Dremel and cut off wheel to open up the rear axle upright to allow the tubing to fit. I only grind on the top rear portion of the upright, right side in photo. I do the most removal of material on the front portion of the upright, left side in photo. Work slowly, and test fit the tubing often. You're looking for a perfect fit to ensure proper rear axle alignment.
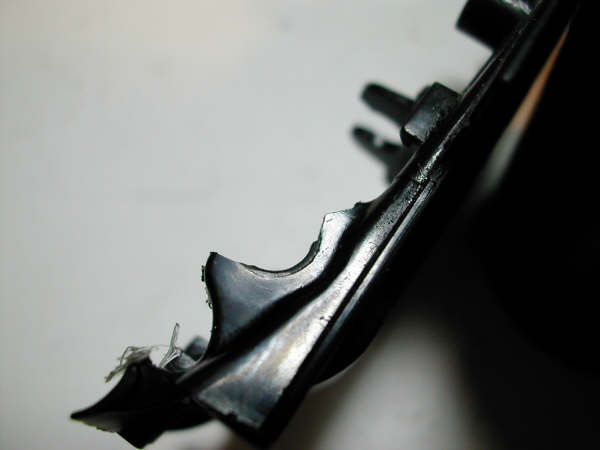
This photo shows the broken upright. You can see where I ground on the rear upper portion of the upright, left side. The bottom portion of the upright is left unaltered, and the lower rear portion of the upright is also left undisturbed. This facilitates the placement and alignment of the brass tubing.
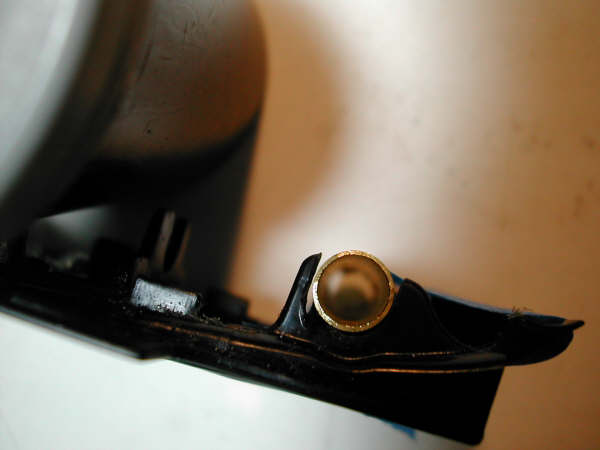
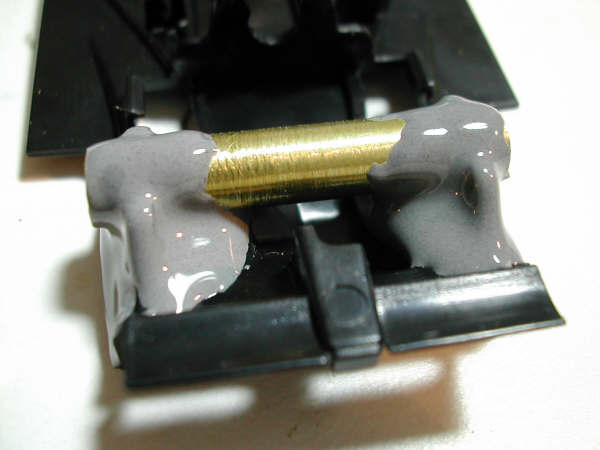
The brass tubing should fit tight to the bottom and lower rear radius of the modified upright. This will give you proper rear axle alignment.
Once you're satisfied with the fit and alignment of the tubing, tack it in place with a couple drops of super glue.
Man I love this stuff, JB Weld! Where were you when I was a kid???
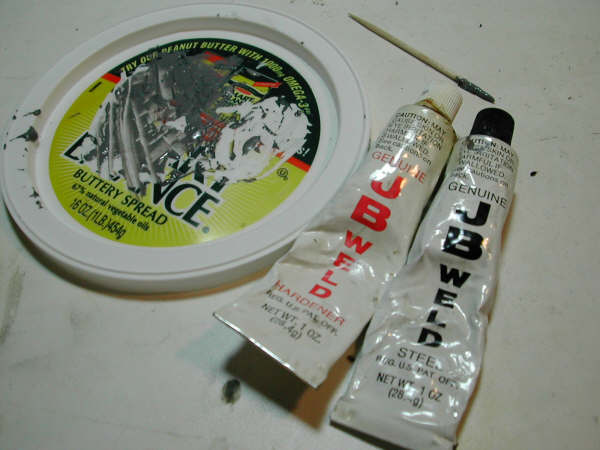
Mix up the JB weld and apply! Keep in mind this is a reinforcement project for a RACE car, NOT a beautification project!!!
Looks pretty bad right now, but I will clean it up some after it is completely dry. Little hint here, there are enough steel particles in JB Weld that if you try to do this process with the cars rear traction magnet in place, the magnet will draw the JB Weld to it (don't ask me how I know that!)!!!
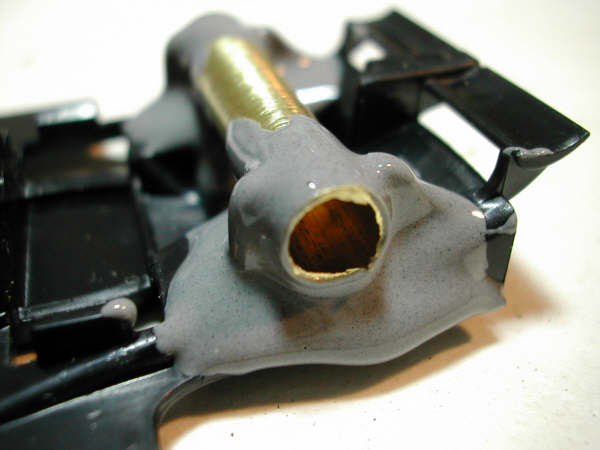
Not pretty, but if it breaks in the middle of a race I'm not gonna care how pretty it is!

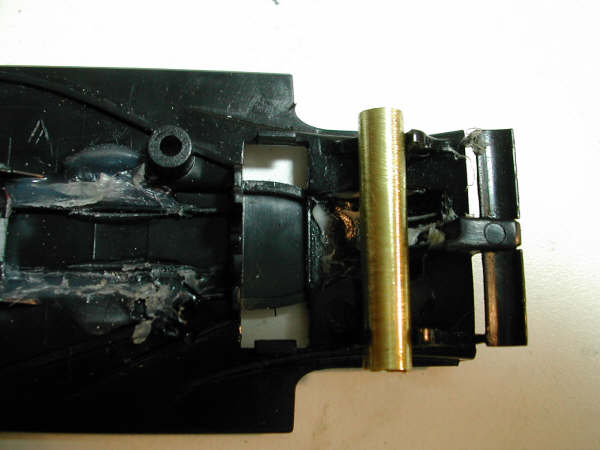
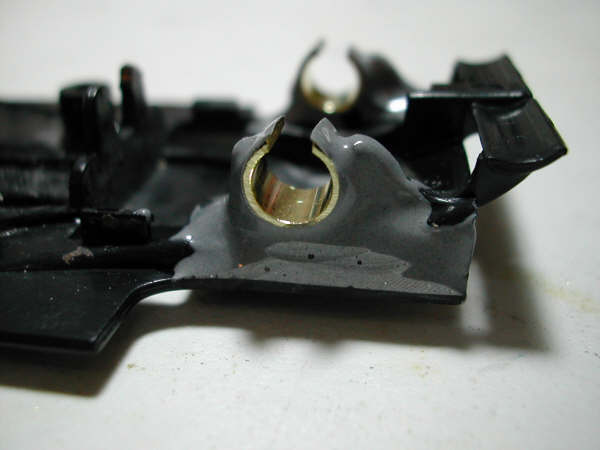
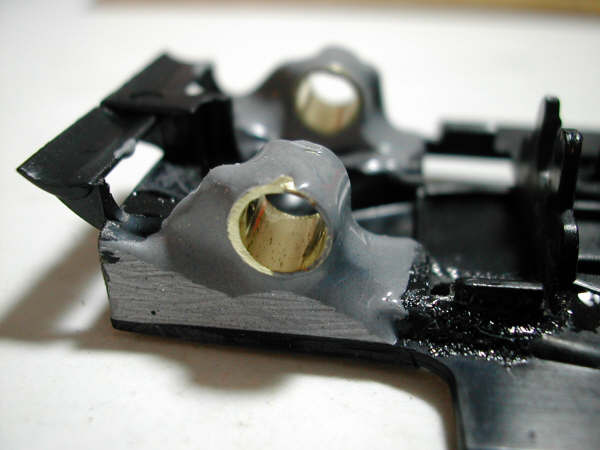
This is what the finished repair looks like for a chassis that will be fitted with a stock rear axle assembly. The plastic axle bushings require a modification to fit this application. The outside flange on each axle bushing must be taken off (ground off or cut off) to allow the bushing to slide into the brass tubing/bushing mount. A drop of super glue holds the bushing in place.
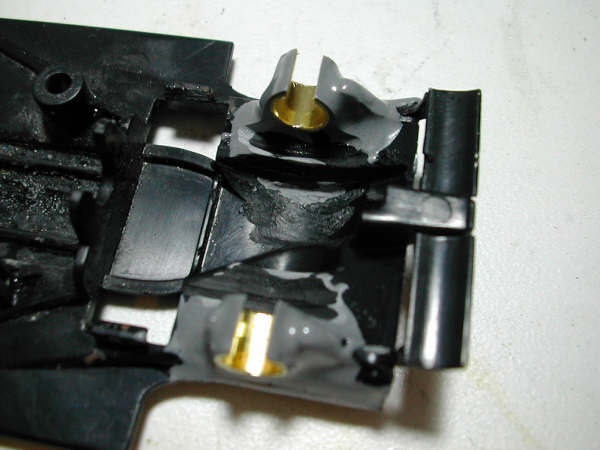
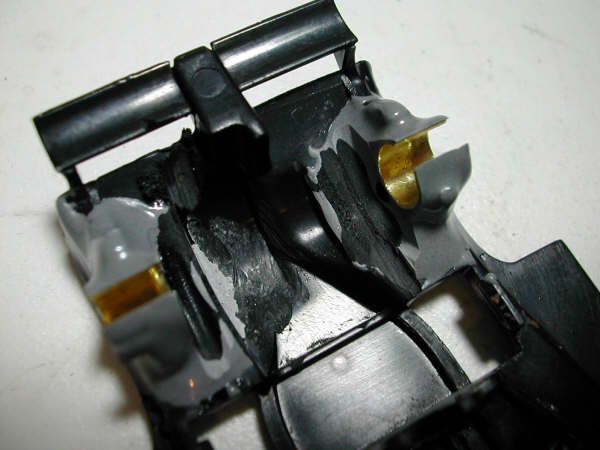
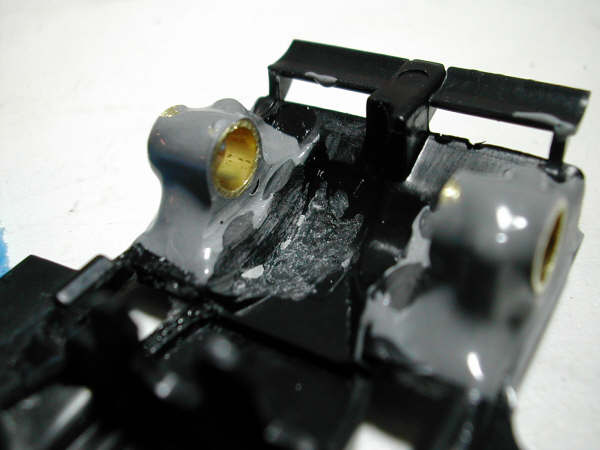
Below are photos of the finished repair which allows the use of standard 3/32 oilites, and a 3/32 axle assembly (standard slot car parts for commercial track type slot cars).
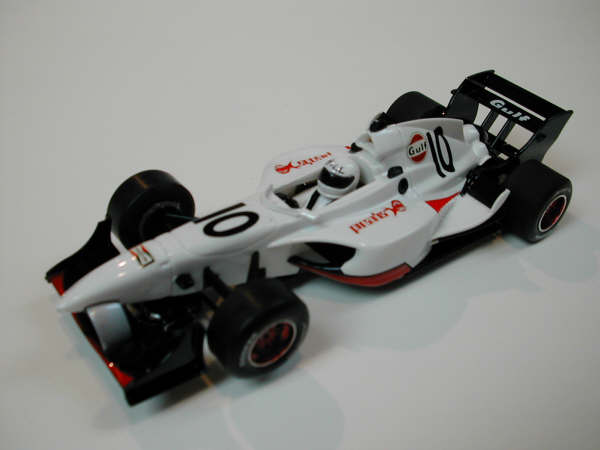
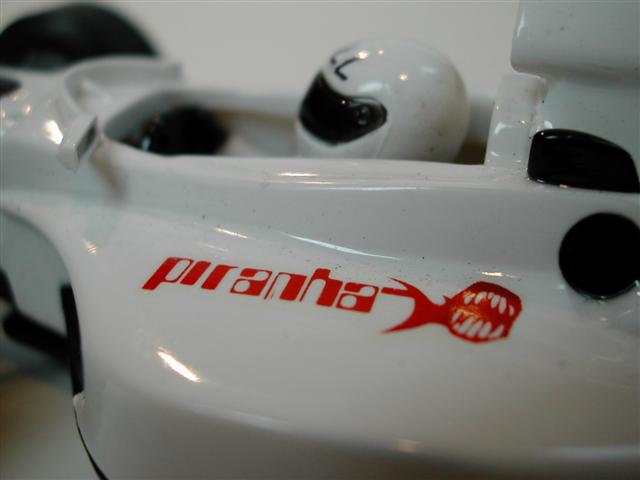
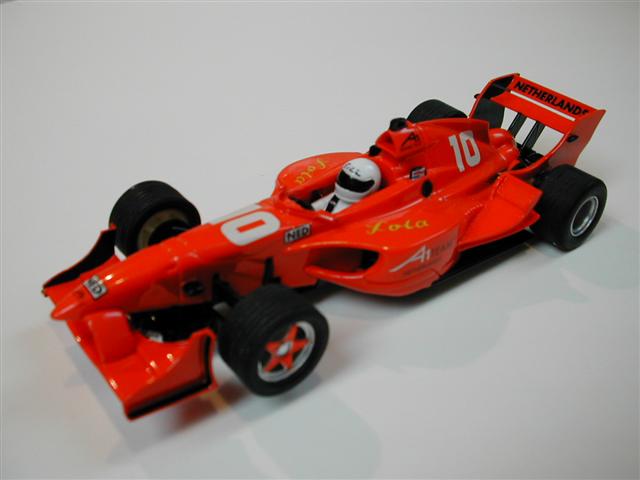
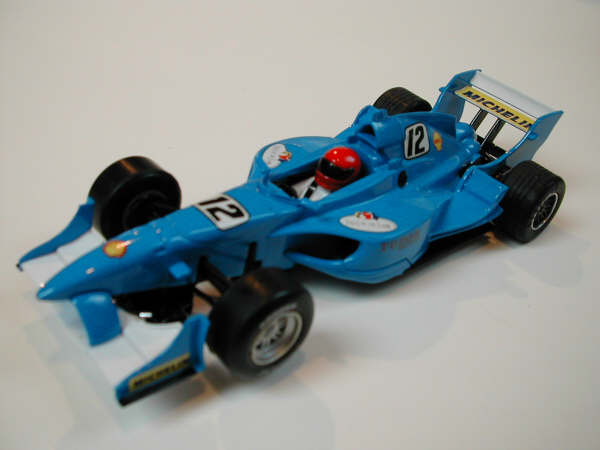
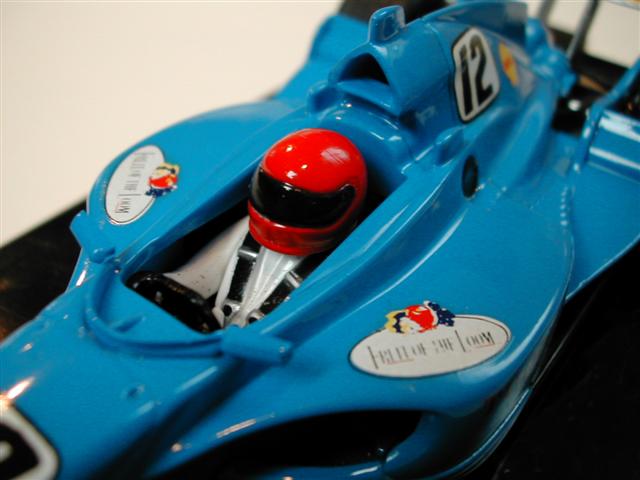
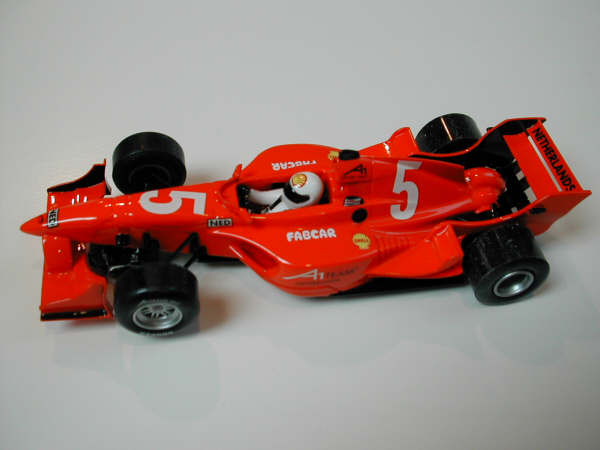
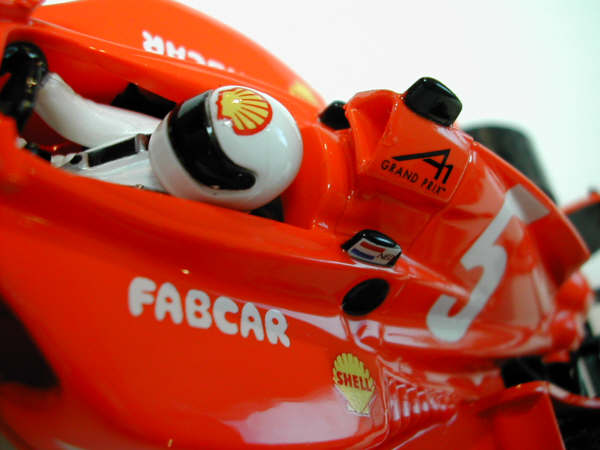
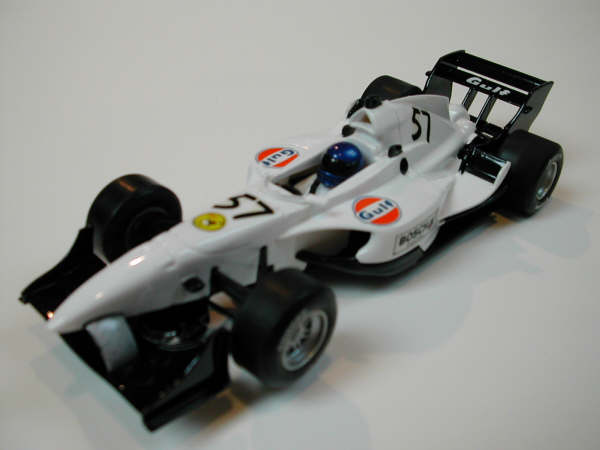
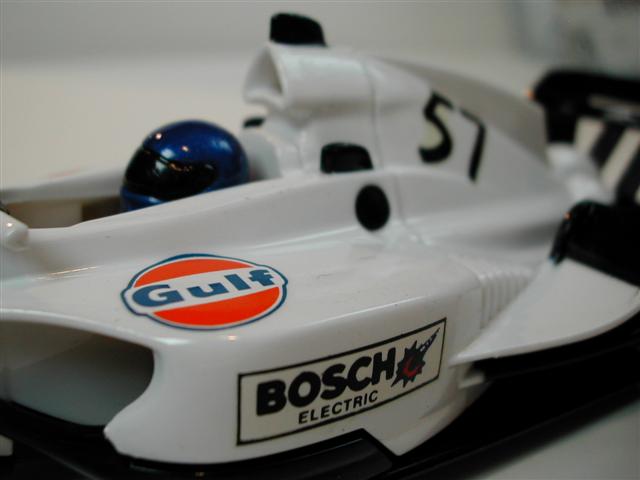
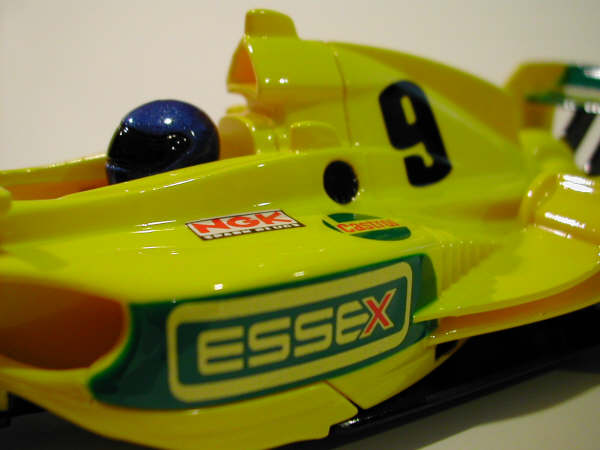
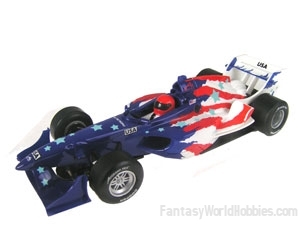
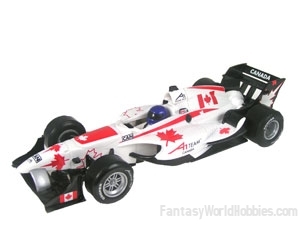
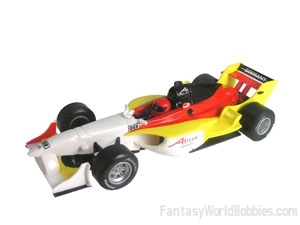
Bodies: Here are some of the A1 GP bodies I have modified. I soak the bodies in a 100% Simple Green solution. The Simple Green removes the factory markings but leaves the original paint in tact. I then add my own decals and finish the car off with a couple of brushed coats of Future Floor Wax.